The Detailed Image Ask a Pro Blog provides you with top quality detailing articles from elite detailers around the US. We share professional detail work, product reviews and step by step instructions along the way to help both new and experienced detailers. Check out this outstanding write up with pictures on the Lamborghini Gallardo Reconditioning 23hr Detail from author and professional detailer Eric Schuster in Orange County, CA. This Gallardo has all the normal accumulation of swirls, oxidation, very dirty wheels and many other dirty areas that are often left untouched. Eric does an amazing job paying attention to all the small details that separate the ordinary from extraordinary. Check out a few of the pictures below, but see the full Lamborghini Gallardo Reconditioning article here.
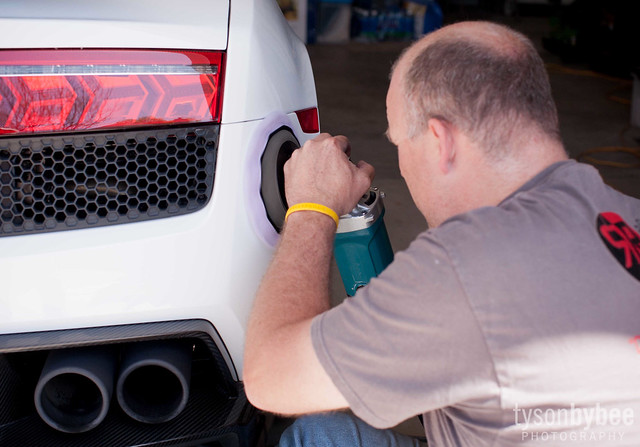
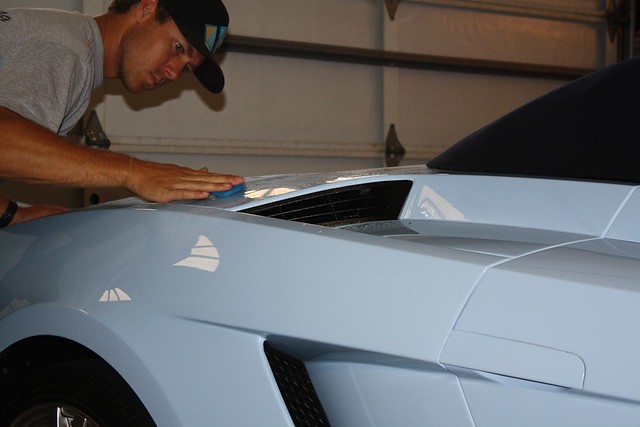
Deep cleaning the paint with a clay bar
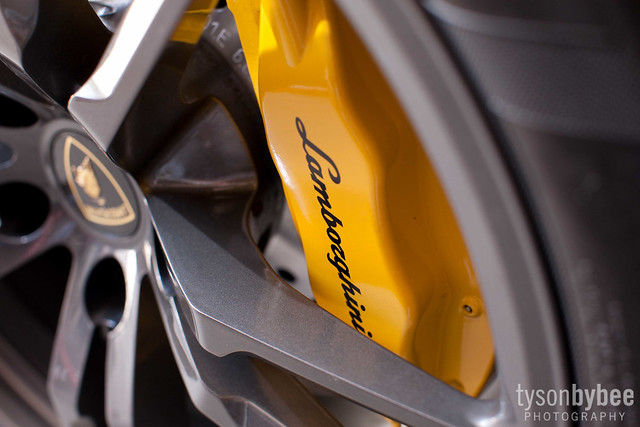
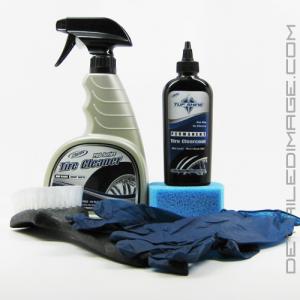
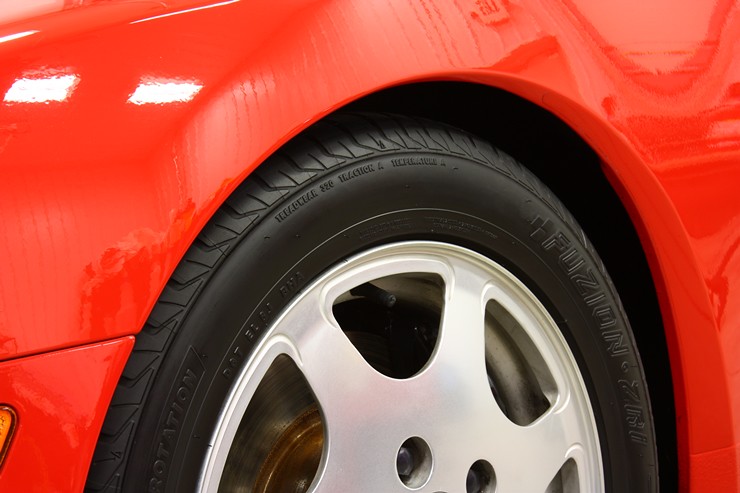
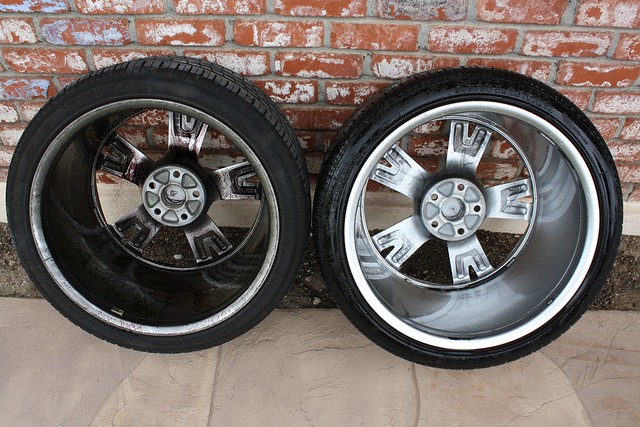
Left wheel not cleaned, right wheel cleaned with SONAX Wheel Cleaner Full Effect
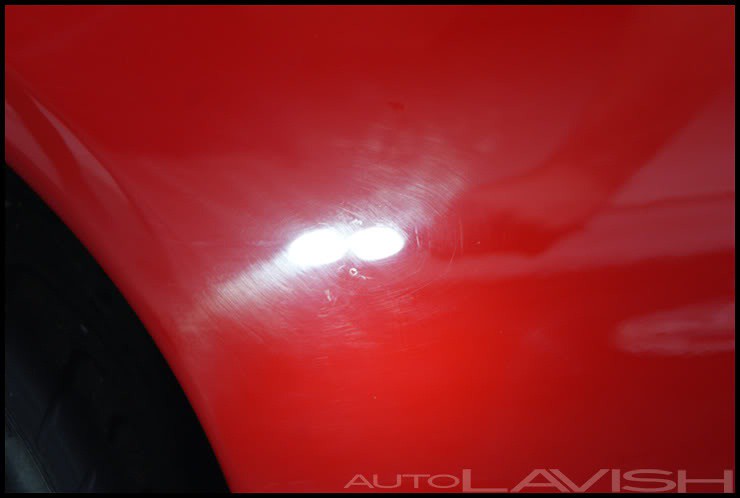
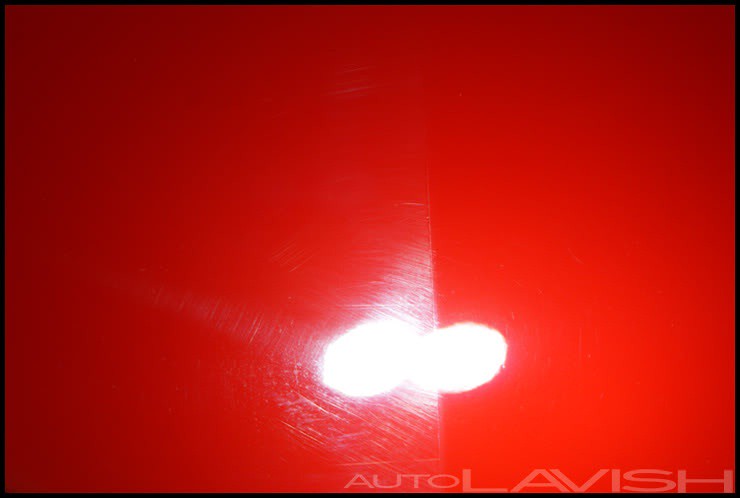
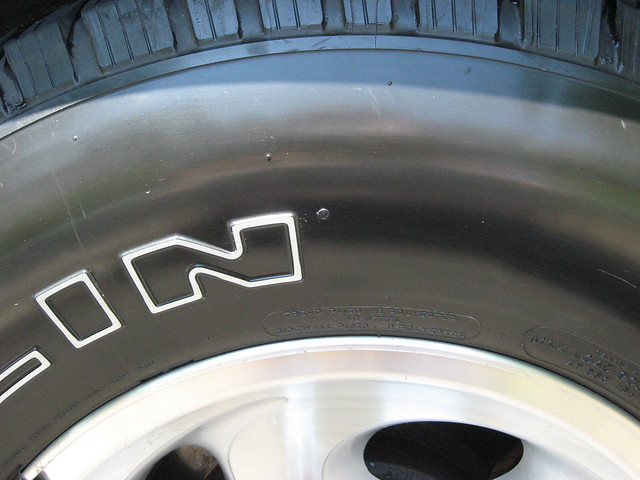
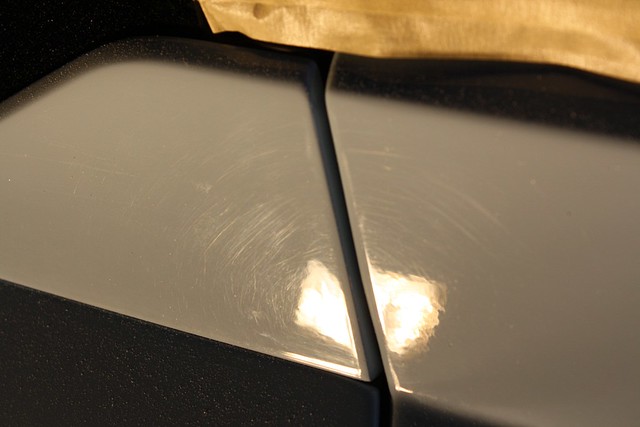
BEFORE
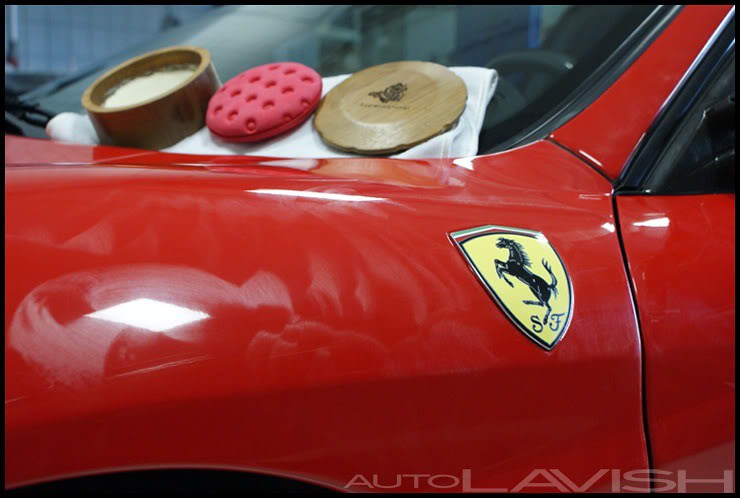
AFTER
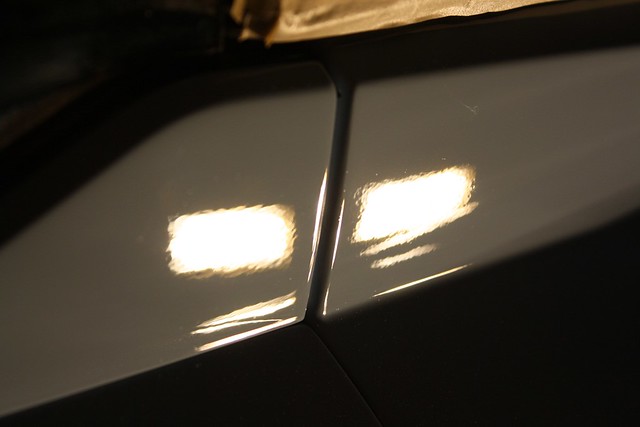
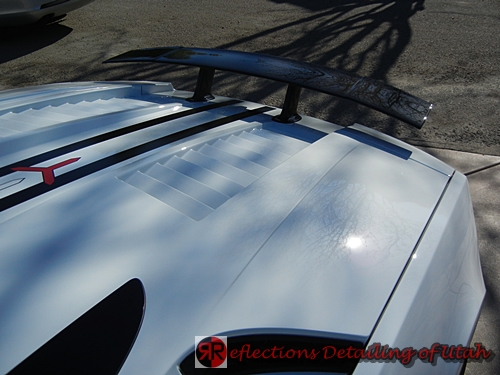
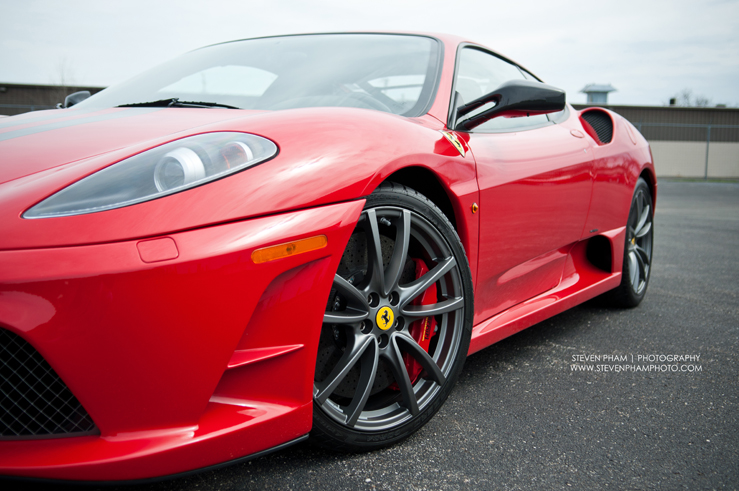
Completed!

Read the entire Lamborghini Gallardo Reconditioning article here and learn more about what products and techniques were used to complete this outstanding detail!
If you have any questions please let me know or leave a comment at the bottom of the article.
Greg @ DI