This is all they came w/ that's why I am asking if they are different, your speaking of 4 washers........ As this kit is pictured is how it arrived. 2pcs washer bright silver for bracket spacing, and 4 pcs black washer for caliper caliper spacing. Correct?
No I loved slotted rears though! My fronts will be slotted, so if this kit clears my wheels I will proceed, If not gotta go another route. After the front success I will save for the rear & slotted rotors.
I haven't tried it w/ the front lip yet, but I did gauge via wifes job driveway the rest of the kit. It used to scrape slightly but not anymore. I think I may be fine As far as full resolution - unknown, but I have faith LOL! I get in our driveway a lot easier now.
a little behind the time curve but I ordered my brackets today from Paul. He said he'd ship monday! SO ECSTATIC! I'll buy rotors after a successful test fit.
Sounds good sir, contribute whatever info. you can. Can I ask your next susp. choice ahead of schedule by chance? The entire kit sits about 3''s of the ground, maybe 3.5 in the rear...wheel gap in the negatives -1 finger, I know because I lost my index one in there hahaha My car going into my driveway - into the garage sits 1" above pavement.
About stiff rates I beg to differ. Spring rates do not effect your ride height. Stiffer rates help maintain your ride height. However w/ the impending birth of my second child, stiffer rates are far from an ideal mod. To add to that by changing preload you can gain .5''s of height. Another less then ideal fix. this will leave your spring w/ free travel before it even begins to work. So your better of as-is, in my scenario.
I decided to start this thread. You may or may not contribute, totally up to you. I'm in a debacle w/ my ride height. My solution is this thread & a tad bit more research. To help myself and others.
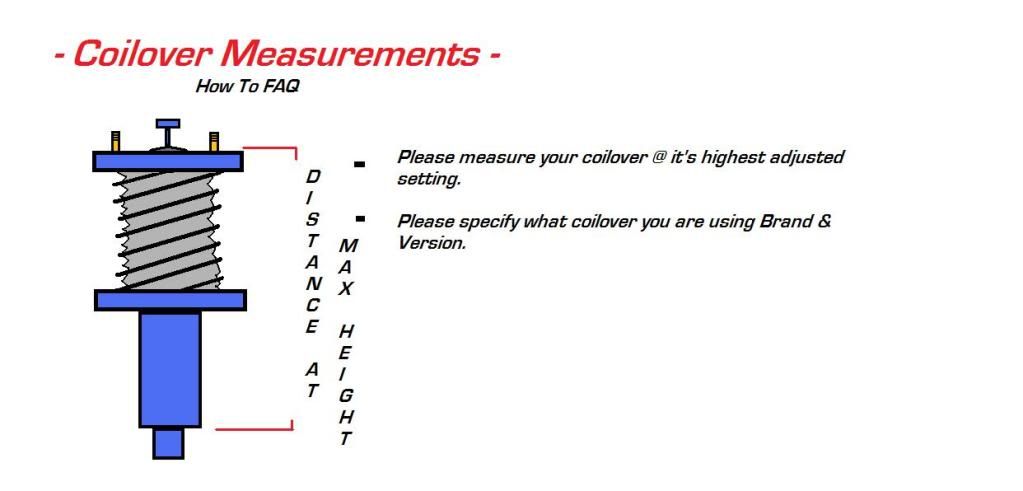
If you'd like to help, whenever you are removing or installing your coilover I'd appreciate it if you'd take some measurements.
WHY? Our accord has a lip kit, our driveway is steep, our streets are not the best, shopping driveways are insane, speed bumps - alternate route..etc etc Basically, w/ our Function Form Type I's adjusted at it's highest raised setting is too low for our sedan accessorized ( lip kit & rim choice ).
Here's a short guide for all participants....Thanks in Advance!
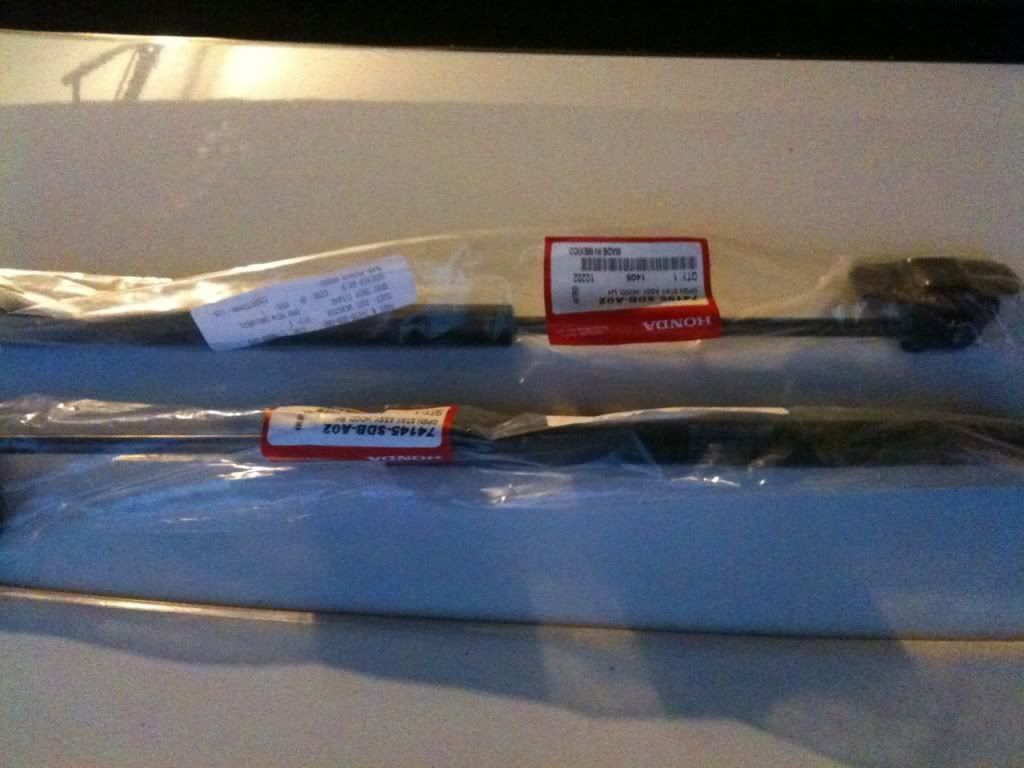
well guys haven't been on much lately because the wedding is this SATURDAY! I've been doing a lot of little this to the Accord to have it ready. Wife wants it for her wedding day. Since the headlights were installed I bought replacement hood shocks, and yesterday a fog light harness kit.
W/ this fog kit I had to do a ton of work, especially since I wanted to wire up a HID kit on the switch. I was helped by another v6p member and I will cut & paste what I did here.
The Diagram I was instructed to use
Quote from: nickkxo
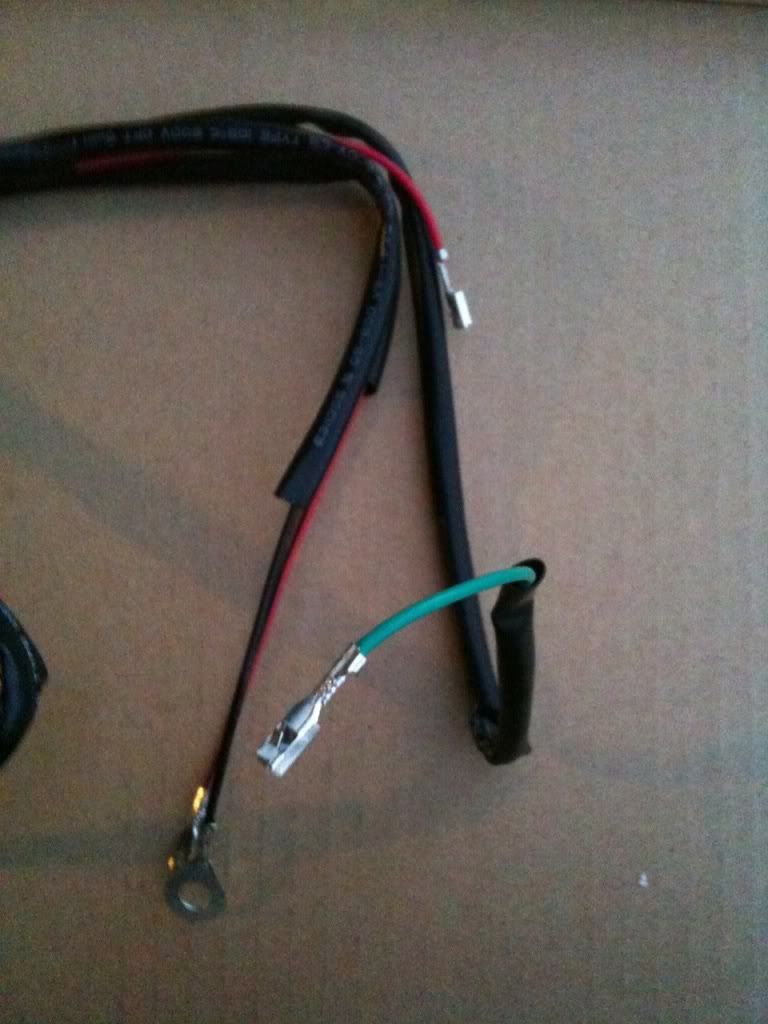
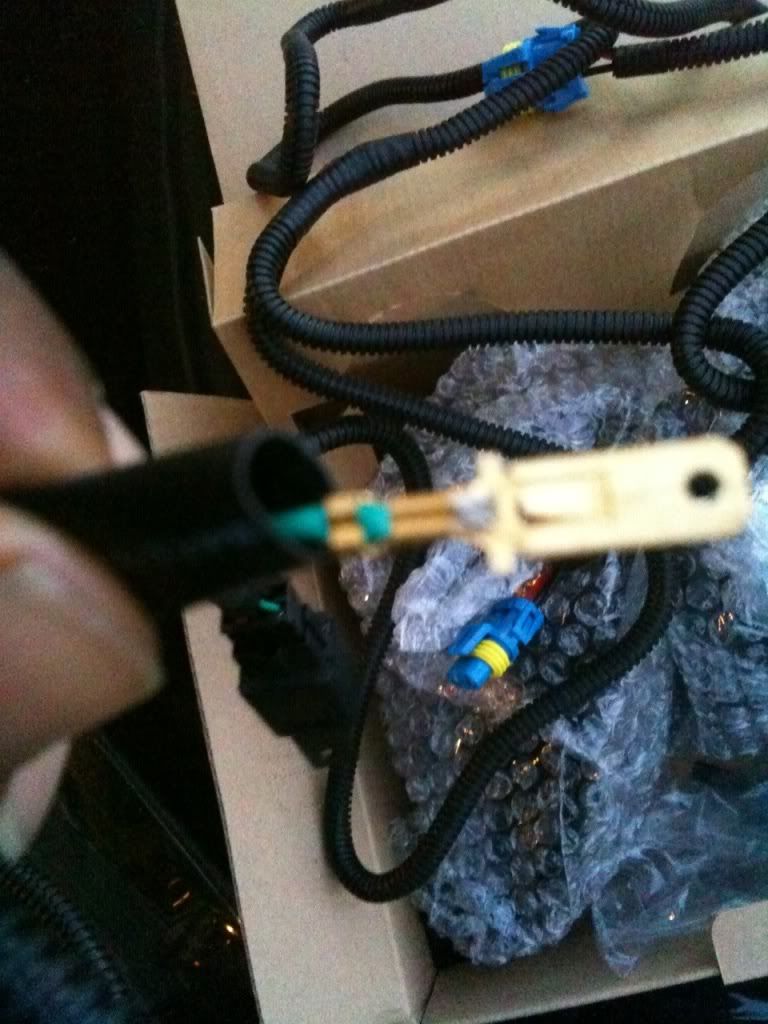
FOGLIGHT HARNESS Ok so on your foglight harness there should be 4 wires; Red, Blue, Green, and Black
Red: Should be the ones that run to your foglights(if you take off the black loom, you'll see this)
Blue: This wire is the one that powers your foglights, I cut off the end of that wire and attached one of these:
And then I connected that to the positive on the battery...This is how "coolblue07" told me I could do it...you can do my method or tap into the fuse box
Green: I drilled a hole right into the firewall, right where the gas pedal is, extend this wire and ran it into the the hole so I can splice it to the other green wire on the Switch Harness...also I used sealant to seal the wire to the hole
Black: This is the ground wire, connect it according to the HandAaccessorie Instruction...which is connecting it to the hood latch.
SWITCH HARNESS
Your switch harness should have 5 wires; Red w/ black stripe, Green, Red, Red w/ black stripe, and Black...in that order
The 2 Red wires w/ black stripes should be connected together(again if you take off the wire cover you'll see this)
Green: Will be connected to the other green wire that ran thru the firewall
The Third wire...which is the plain red wire is not used just leave it alone i guess
Black: This is the ground and I connected it to the ground from my sunroof switch
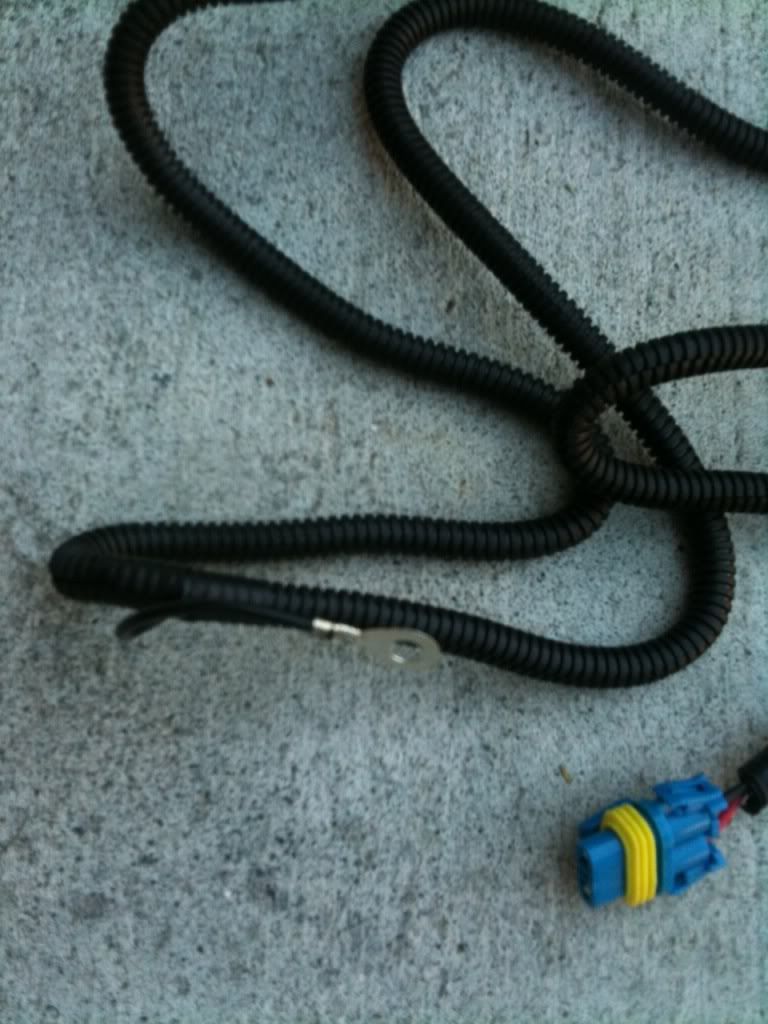
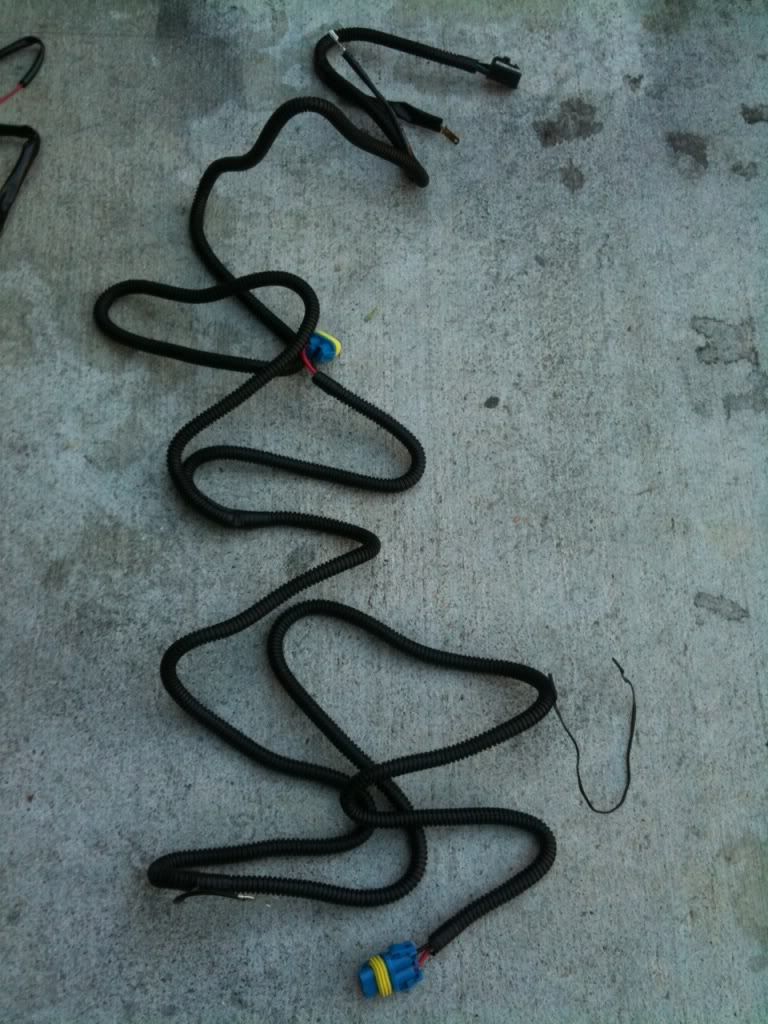
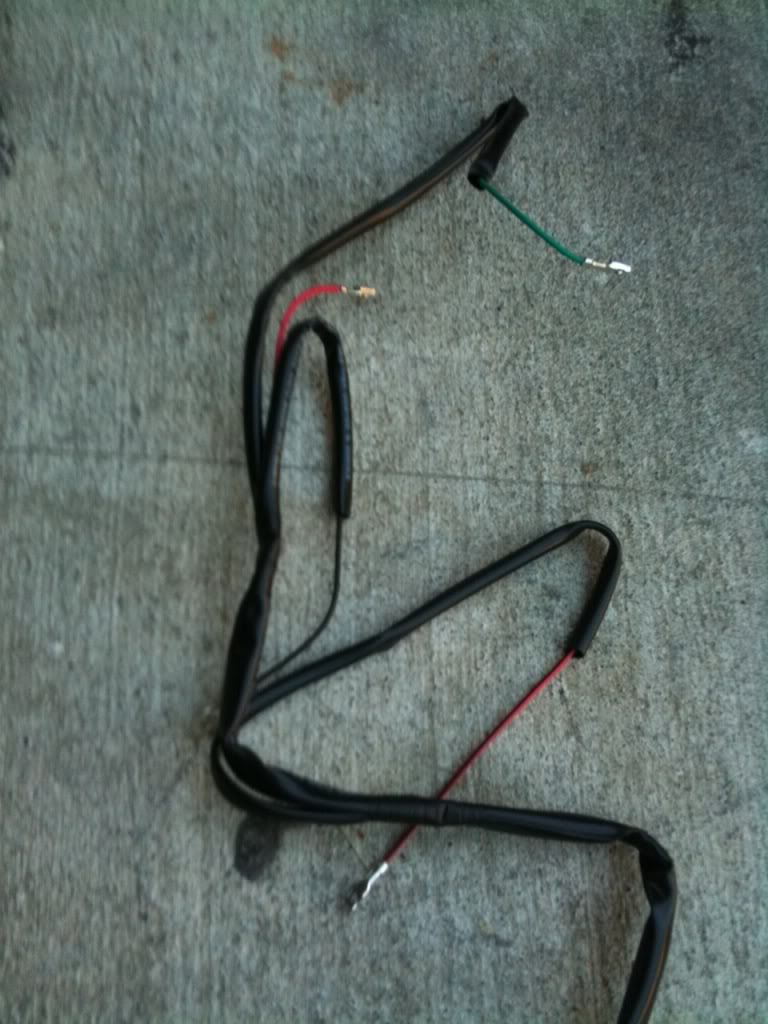
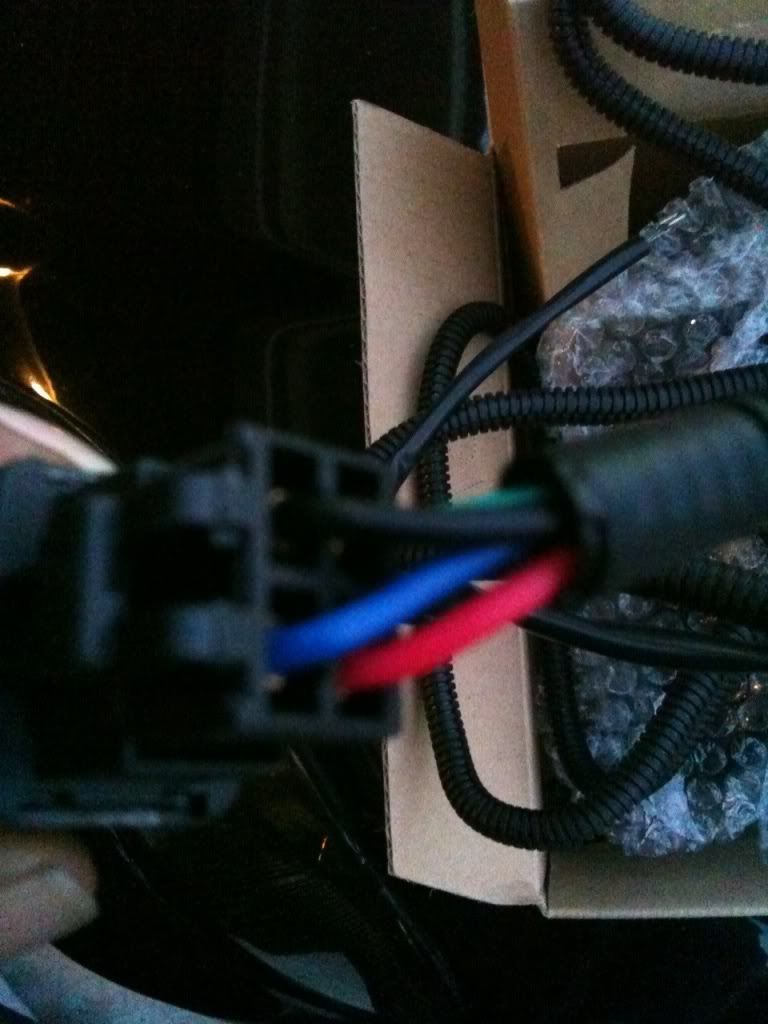
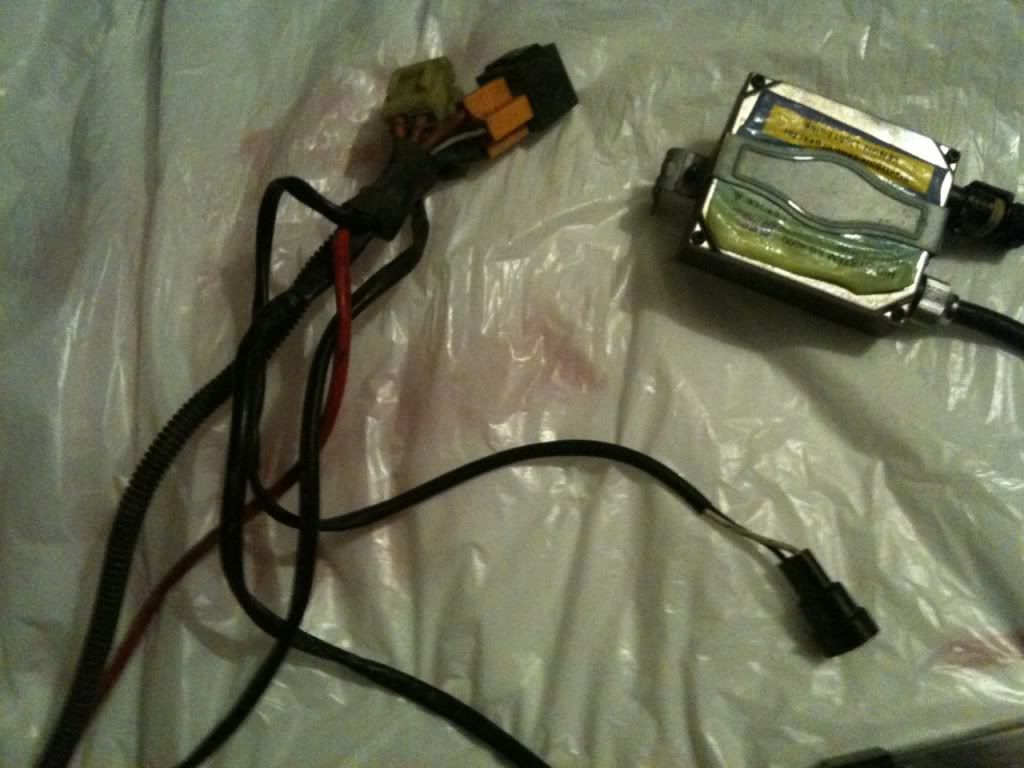
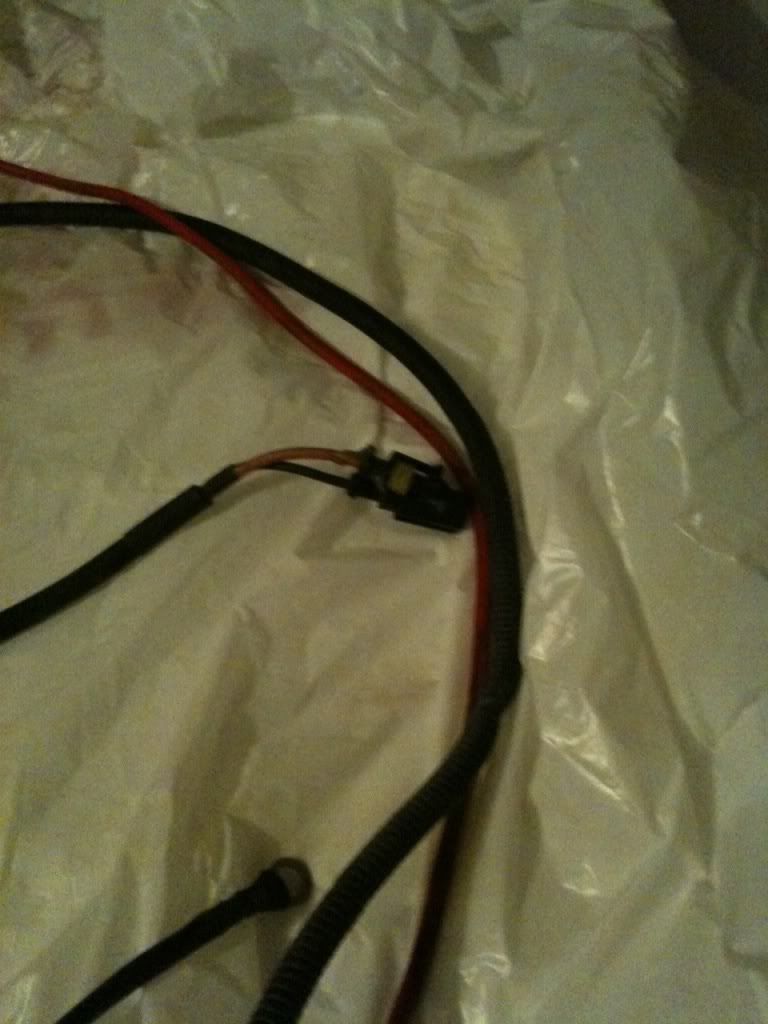
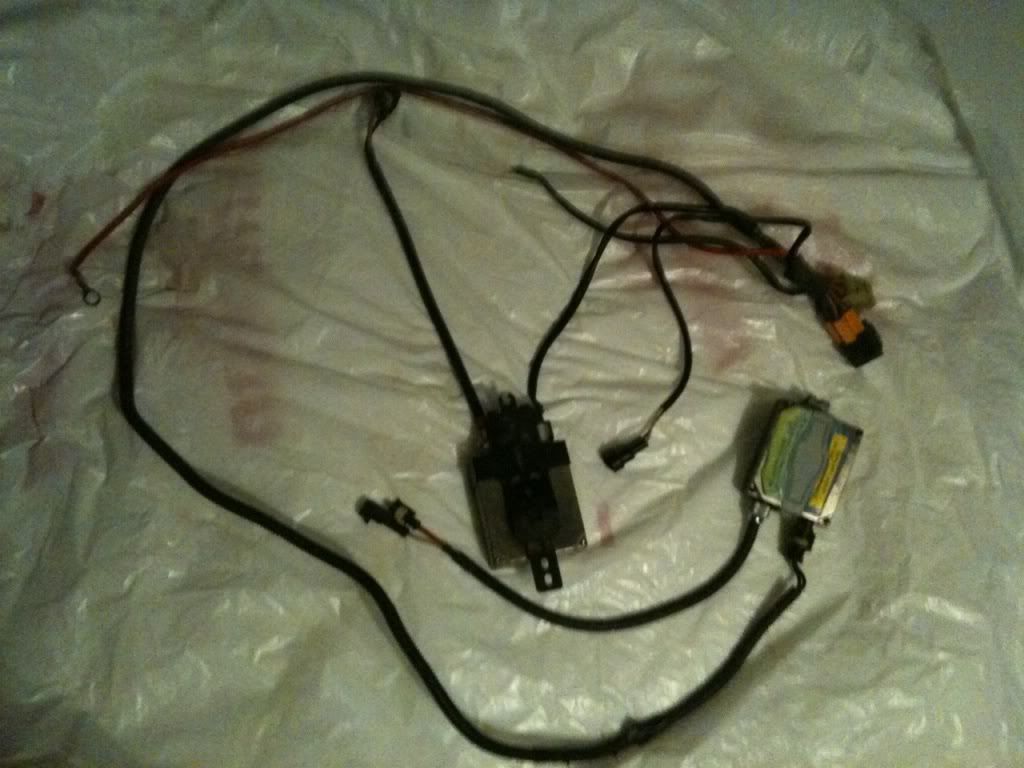
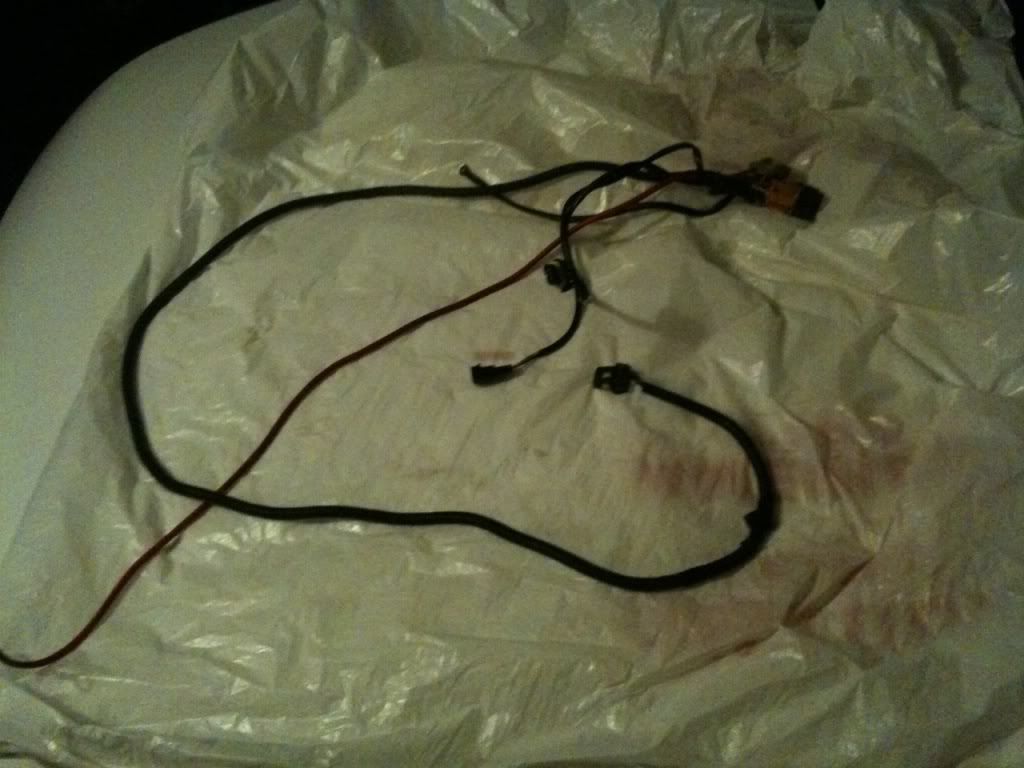
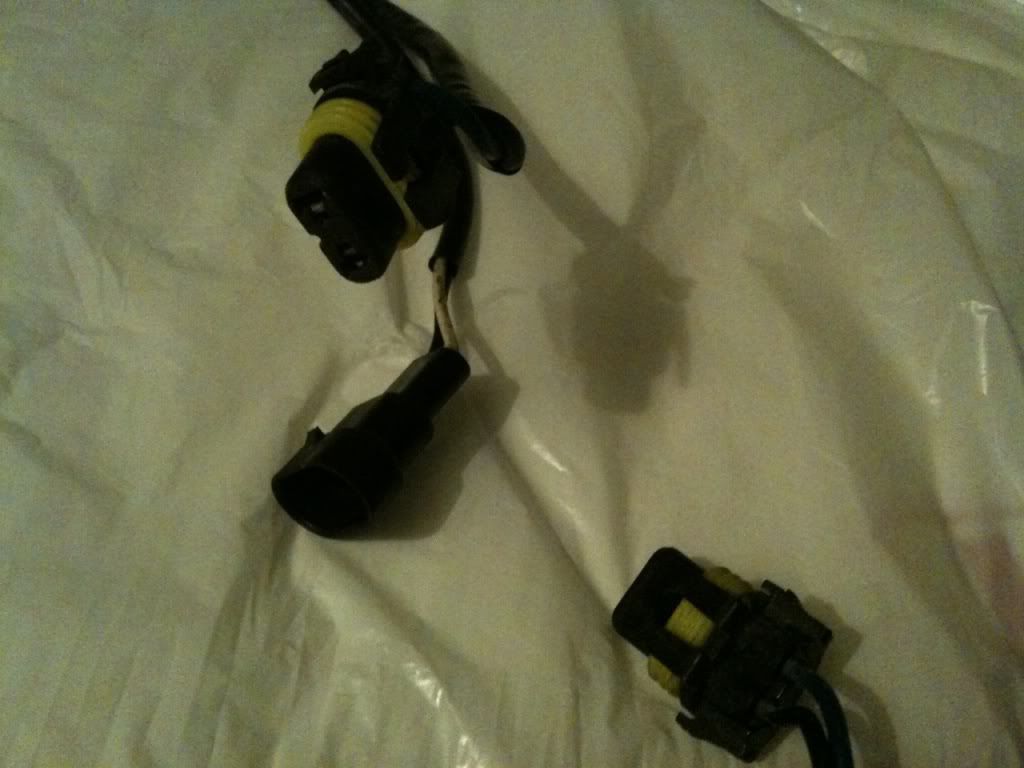
- pics of the aftermarket harness
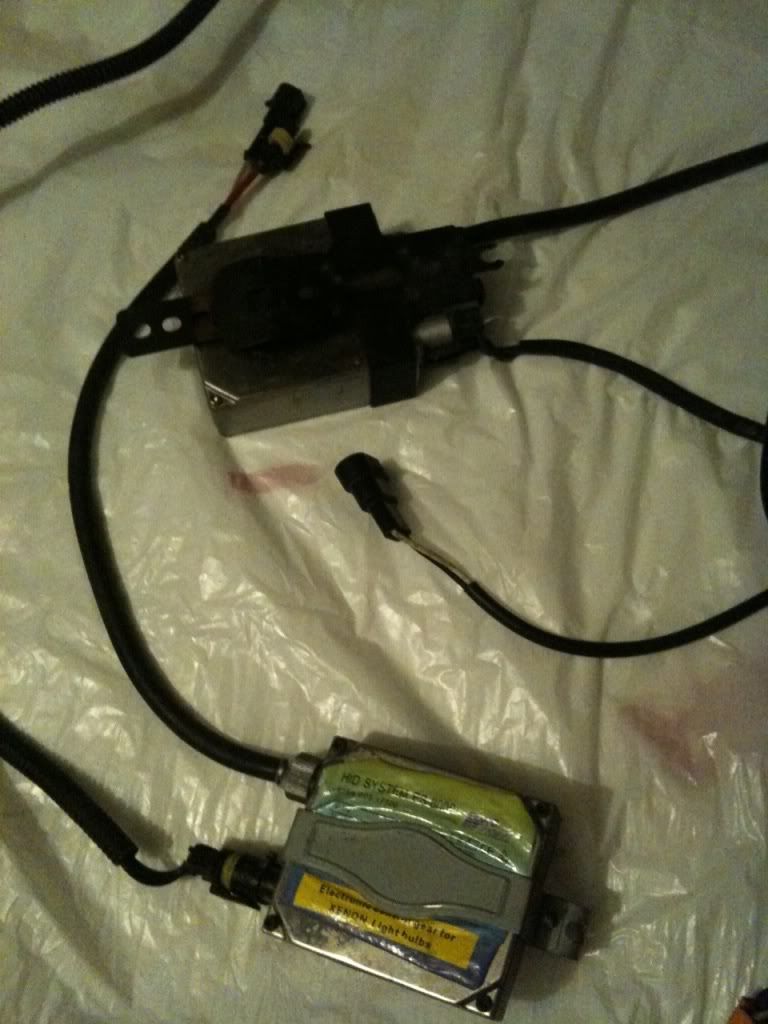
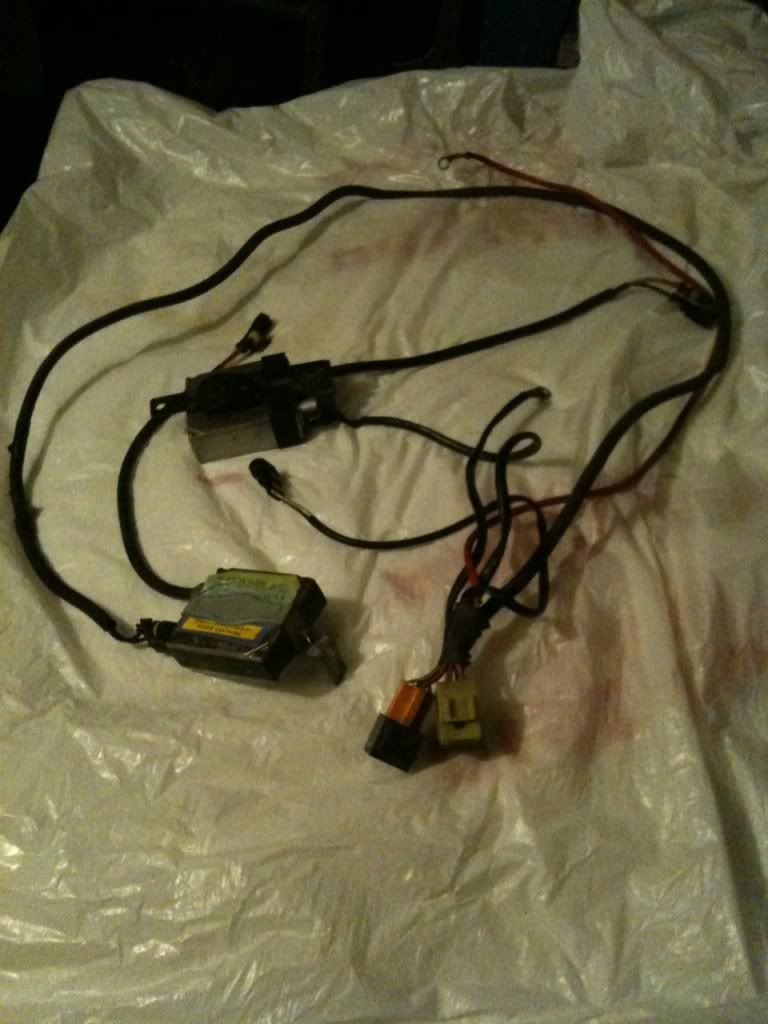
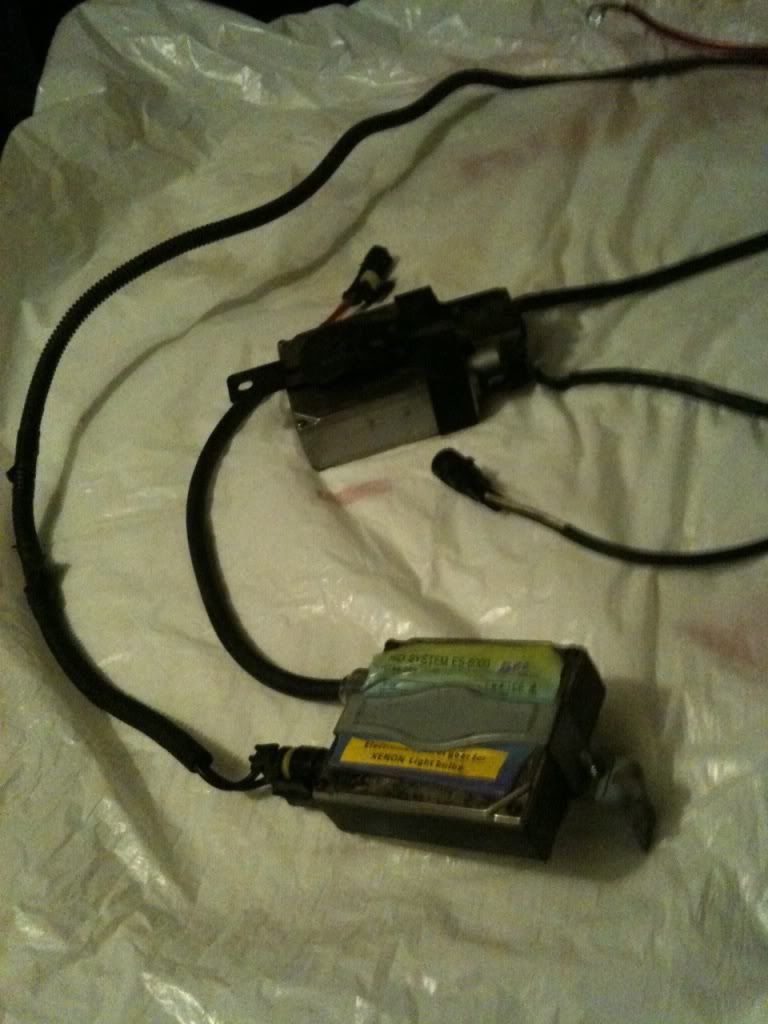
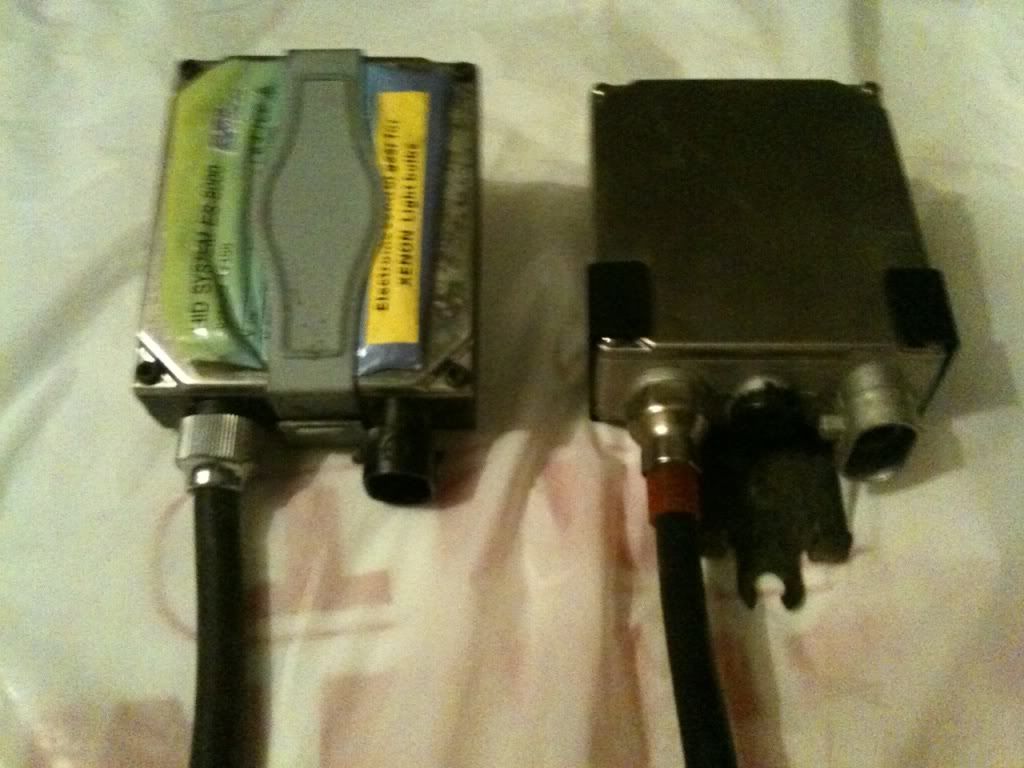
My HID kit
unplugged & separated
Sooooooooooooo.... after conversating w/ Nick for a short while on AIM, I was able to accomplish my switch install. Nick is a helpful man of great patience. LOL! Thanks Nick. I also Had to watch a few youtubes in between. My Accord knowledge is not extensive.
I chose to use the cig lighter for my 12v ( as well, thanks Nick ). These helped me to get there - For us auto guys, "not an ashtray" has to be pried up using a small screw driver, like mini small. Then I used My plastic pry tools to free up the console.
I spent alot of time prepping my course of action, extending wires, soldering, modifying etc etc.... not all necessary but I chose to.
5 Wire Green Switch - Colors in order ( I do not know why it mattered but it works, so therefore it does ) - Black - Red/Black ( de-pin from connector ) - Red - Green - Red/Black ( splice removed R/B into this R/B )
After you de-pin the connector it should look like
* If your harness is like mine - The red/blk farthest from the black is spliced into the R/B you de-pinned first. I just cut it off and re-pinned it where the 2nd R/B was. *
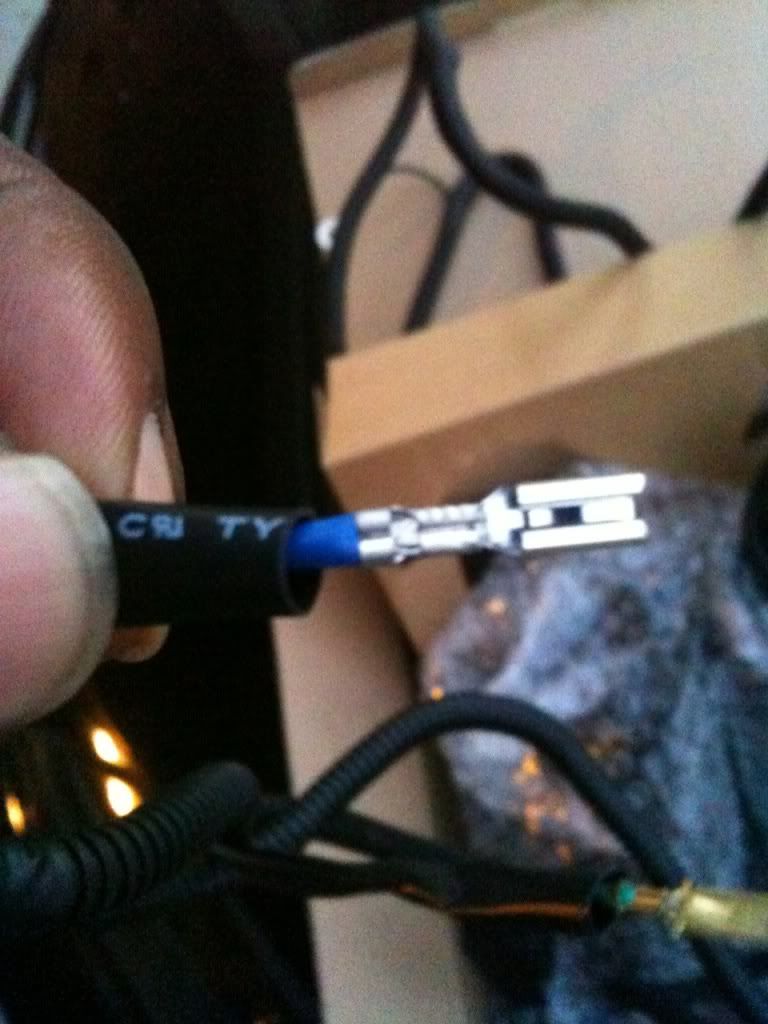
I used some extra pins I had, to make a male female connector for my in car harness. Why? JIC I ever need to R&R any component. I will do the same for my green wire that is to be connected later to fog harness.
(9/13/2010).................until tomorrow that's all I got documented. GNYT!
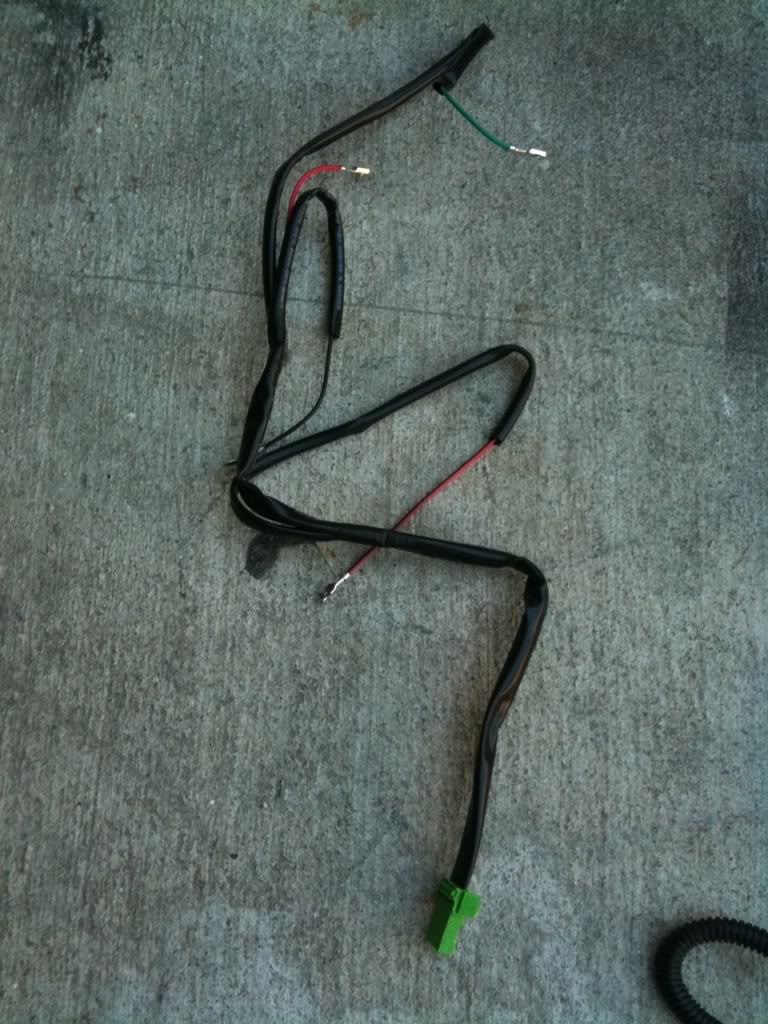
Here's the switch after you have repinned it as mentioned earlier.
Now it's a 4 - wire - Black - Red ( solid ) - Green - Red / Black
So I got all down and dirty for a short spell today, finishing up just the fogs harness and testing it. nothing hardwired yet besides the ground @ sunroof, batt + w/ butt connector and the 12V+ into accessory outlet.
( routing 12v )
then I decided to loom it and re-route it, along oem lines - hardly noticeable too
For the Green wire I extended it through the a/c heater blower line hole. I pulled the rubber grommet w/ needle nose pliers, and fed the extended green through it and past the firewall inside the cabin.
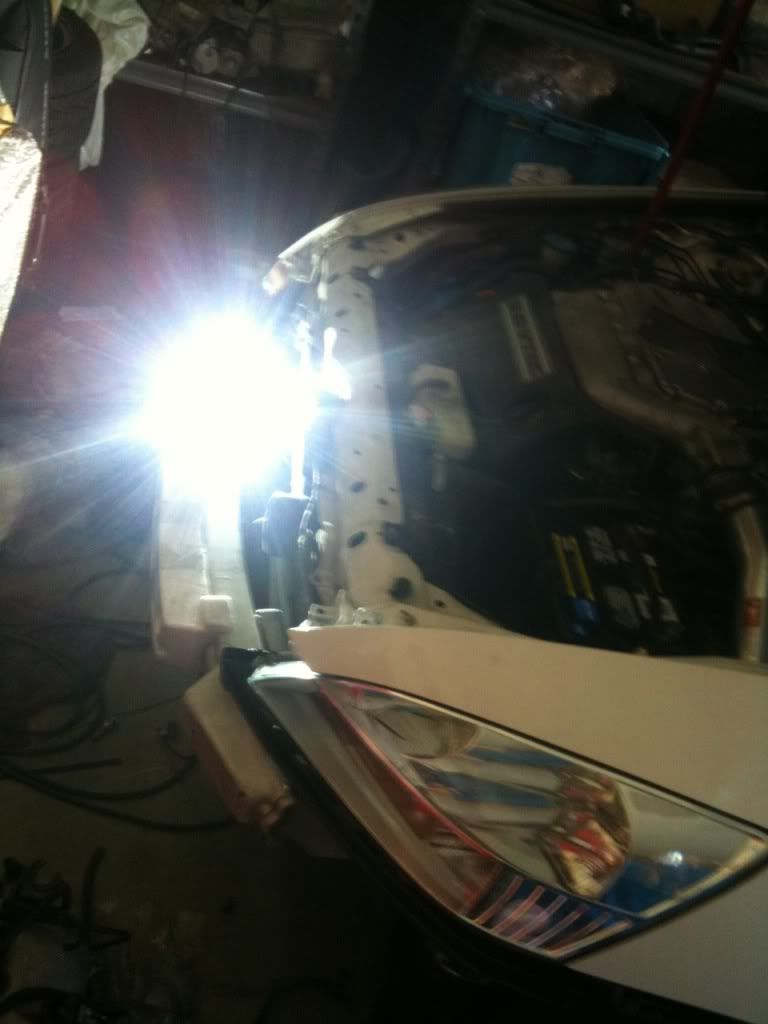
testing @ K.O.E.O ( key on engine off )
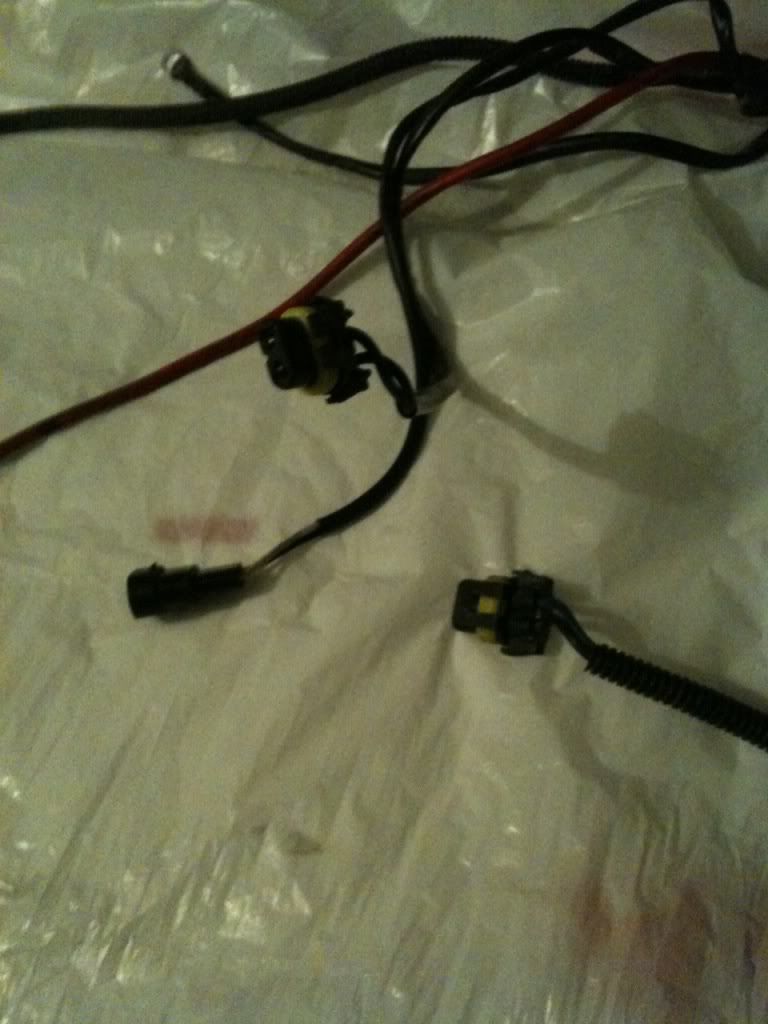
* Now I need to figure out how to make my HID kit work w/ my fogs. It has 3 connectors, and Especially since it's not H11. I will de-pin that harness as well for testing.
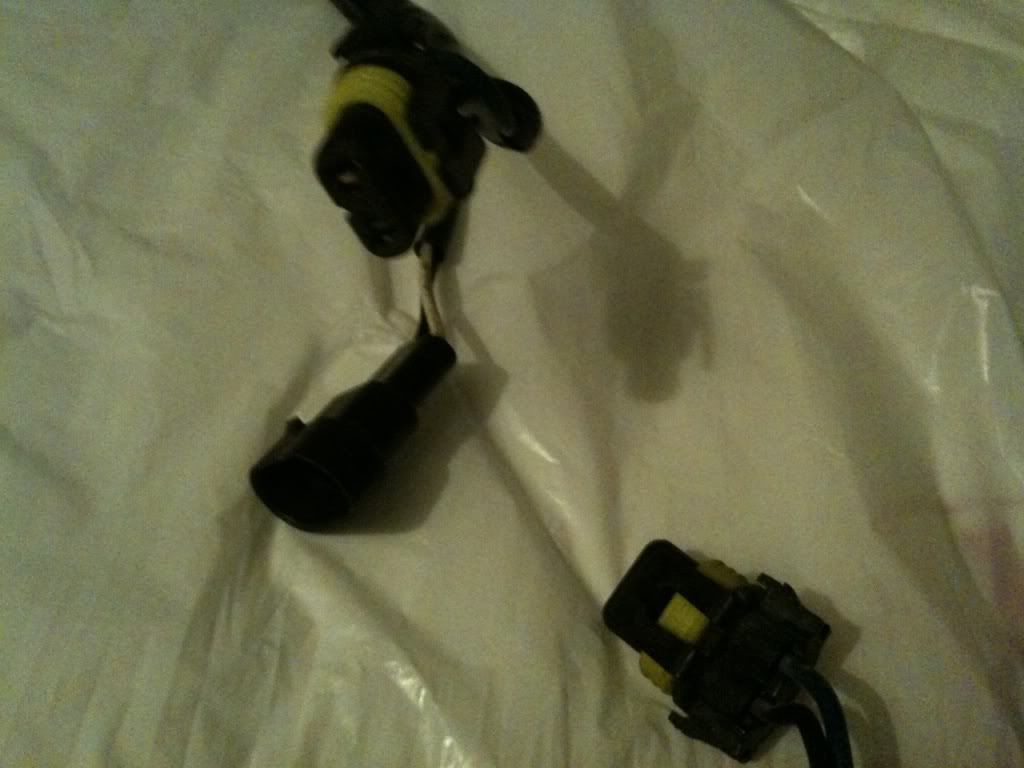
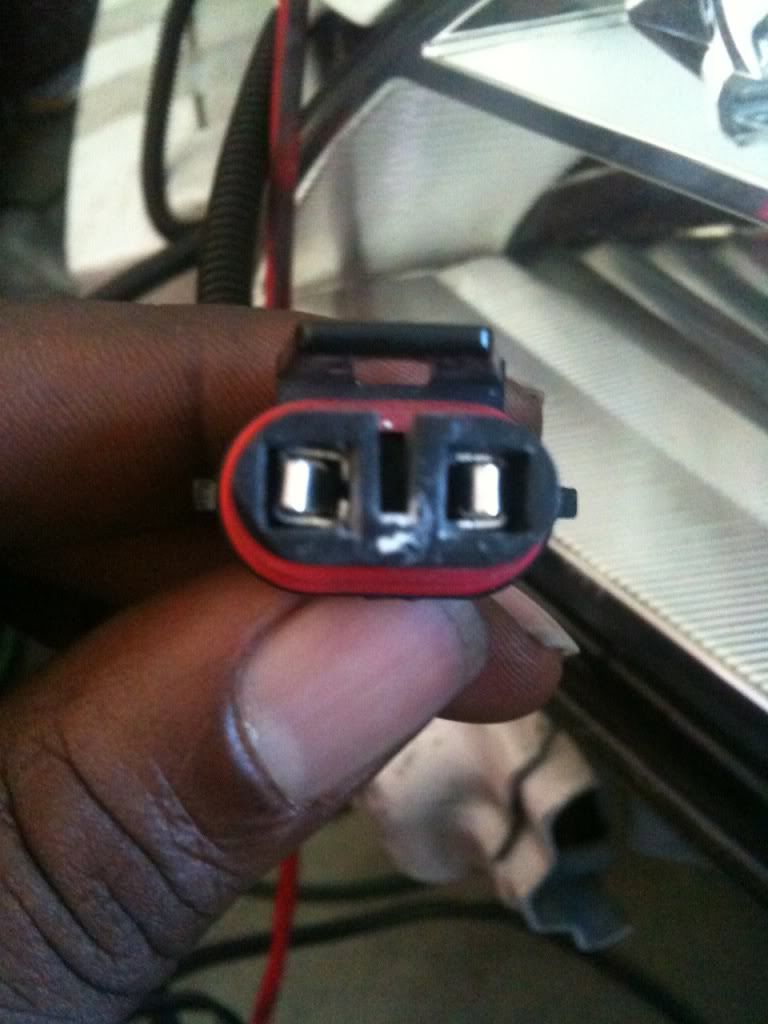
HID
Fog ( x2 connectors on pic'd )
Back w/ good news....HID Fogs are a go! Time to button up the project and complete install of HID kit, fogs and bumper won't be installed til thur/fri. The tough part is over
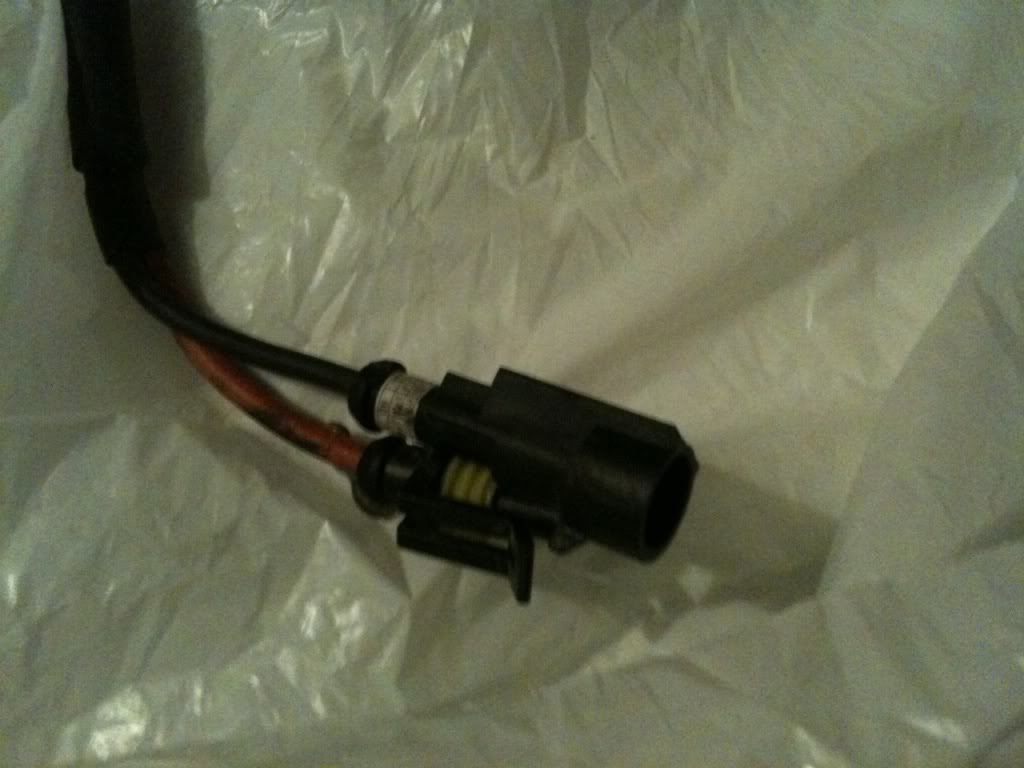
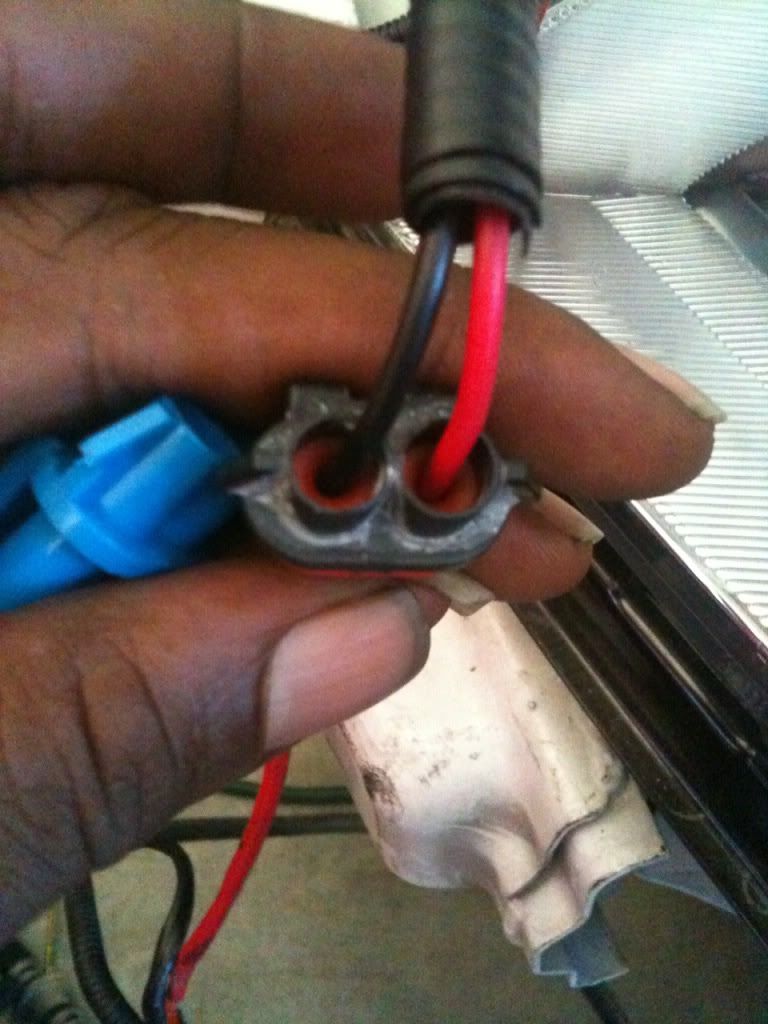
so I took this loose connector ( your kit may vary, this one I had laying around ) of my HID kit & plugged in my de-pinned fog light connector for testing. ( USE THE CONNECTOR ON THE RIGHT SIDE OF VEHICLE when wiring permanently or only one side will illuminate. )
Switch off - HID off
Switch on HID on
video of operation
BIG THANKS TO NICK! :bang: :bang: :bang: :bang: :bang:
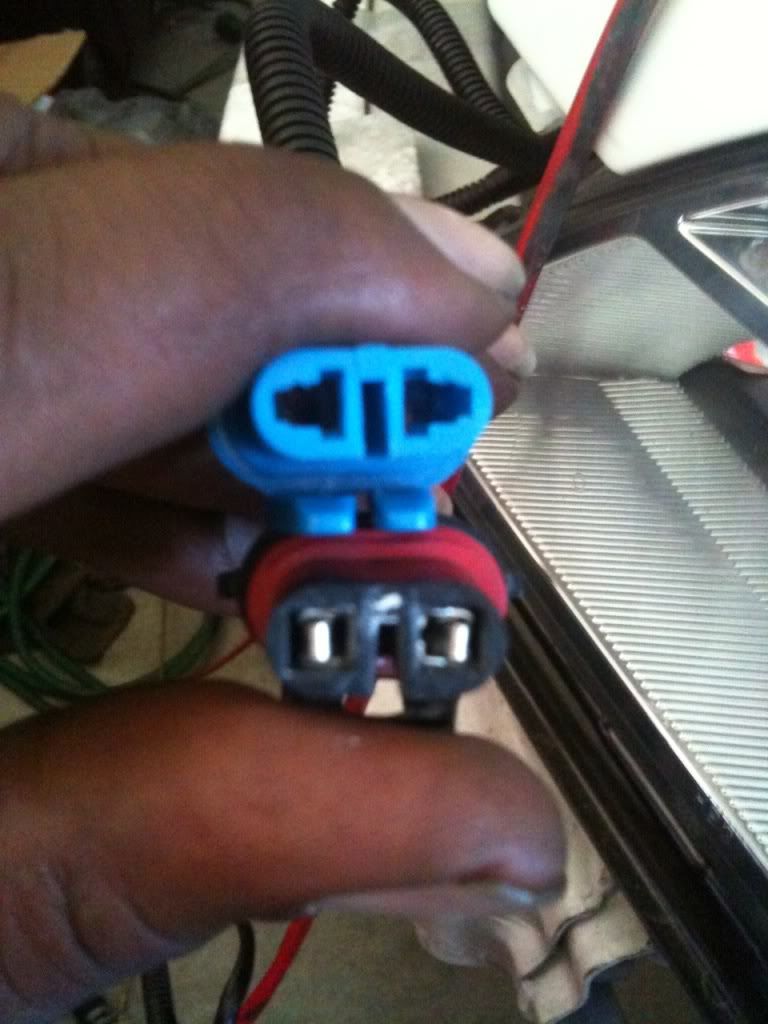
Yes sir, switch works buy doesn't fit my console, going to see if Honda has one tomorrow, if not I will return this switch. My fogs are H11. My hid plug to the fog harness was not. So it's H11-ish now haha. Actually, my old h11 harness plugs right in so I just pinned it to the new harness, and I tested it all already. I'll post pics in about 5min.
My old H11 vs new just re-pinned
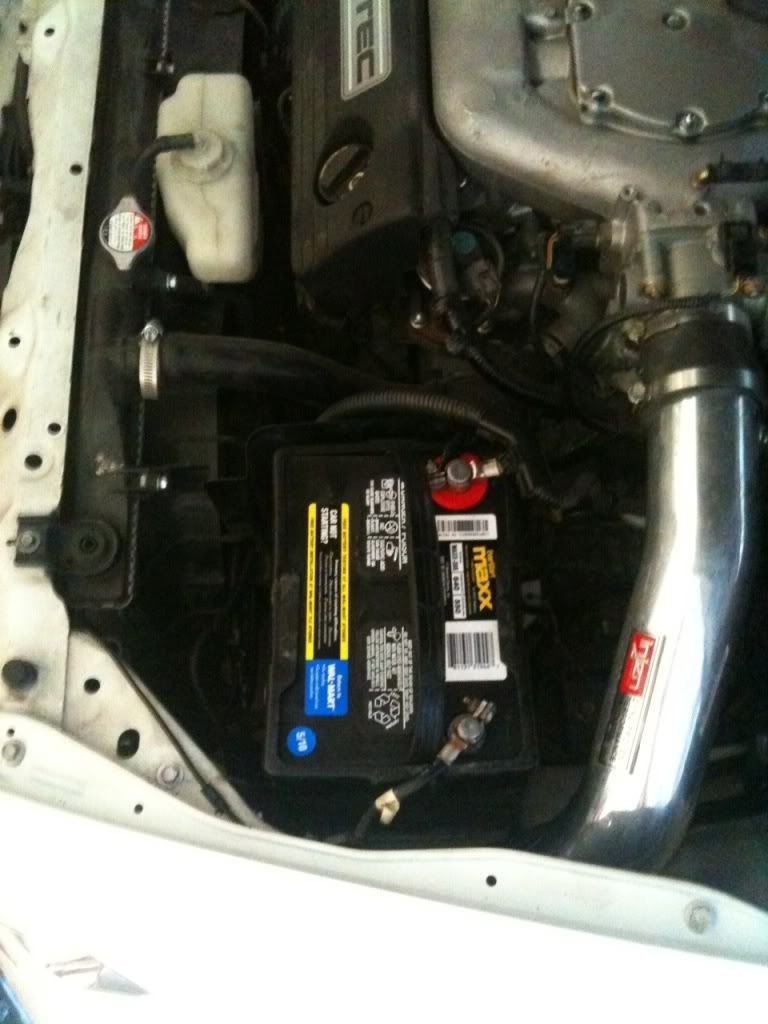
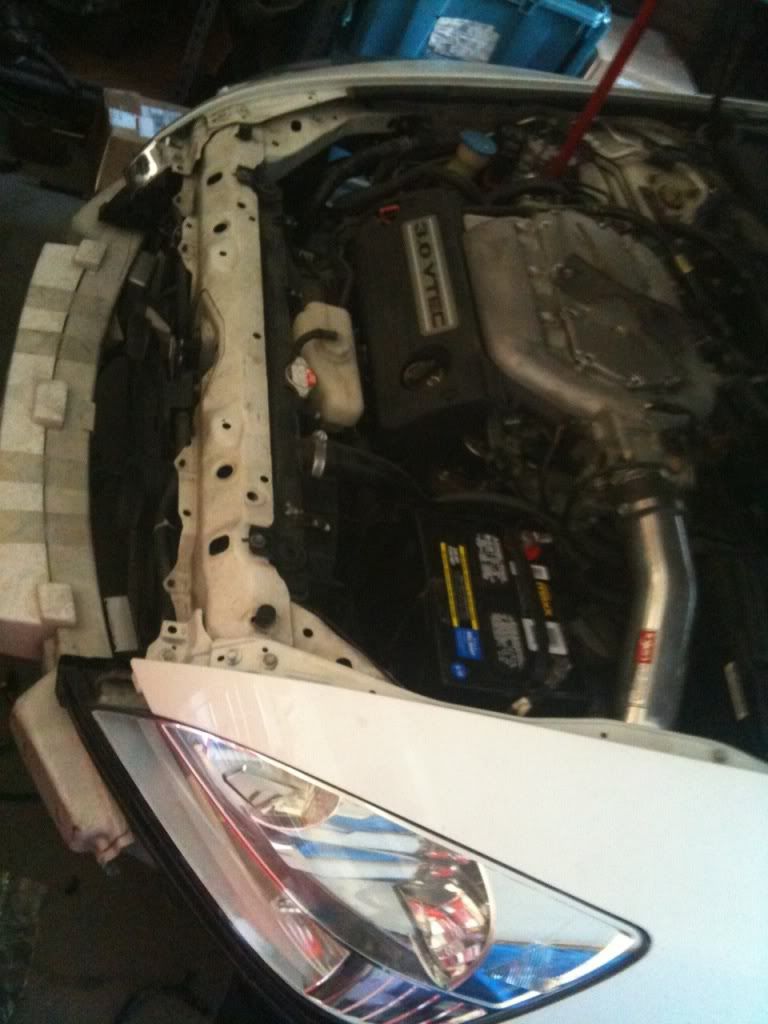
Final install on car, I think it's pretty clean.
Final on car test - then buttoned it all back up inside


 .
.